A Guide to Window Installation: From Selection to Completion
Window Installation: From Selection to Completion

Installing new windows can breathe new life into your home, enhancing its aesthetic appeal, improving energy efficiency, and increasing its overall value. If you’re planning to undertake this journey from selection to completion, this comprehensive guide will lead you through each step, ensuring you're well-informed and ready to make the best decisions for your home.
Understanding Window Types and Materials
When you start thinking about installing new windows, the sheer amount of options can be a bit overwhelming. There are several types of windows to choose from and the material of each impacts not just cost but also efficiency and maintenance.
Types of Windows
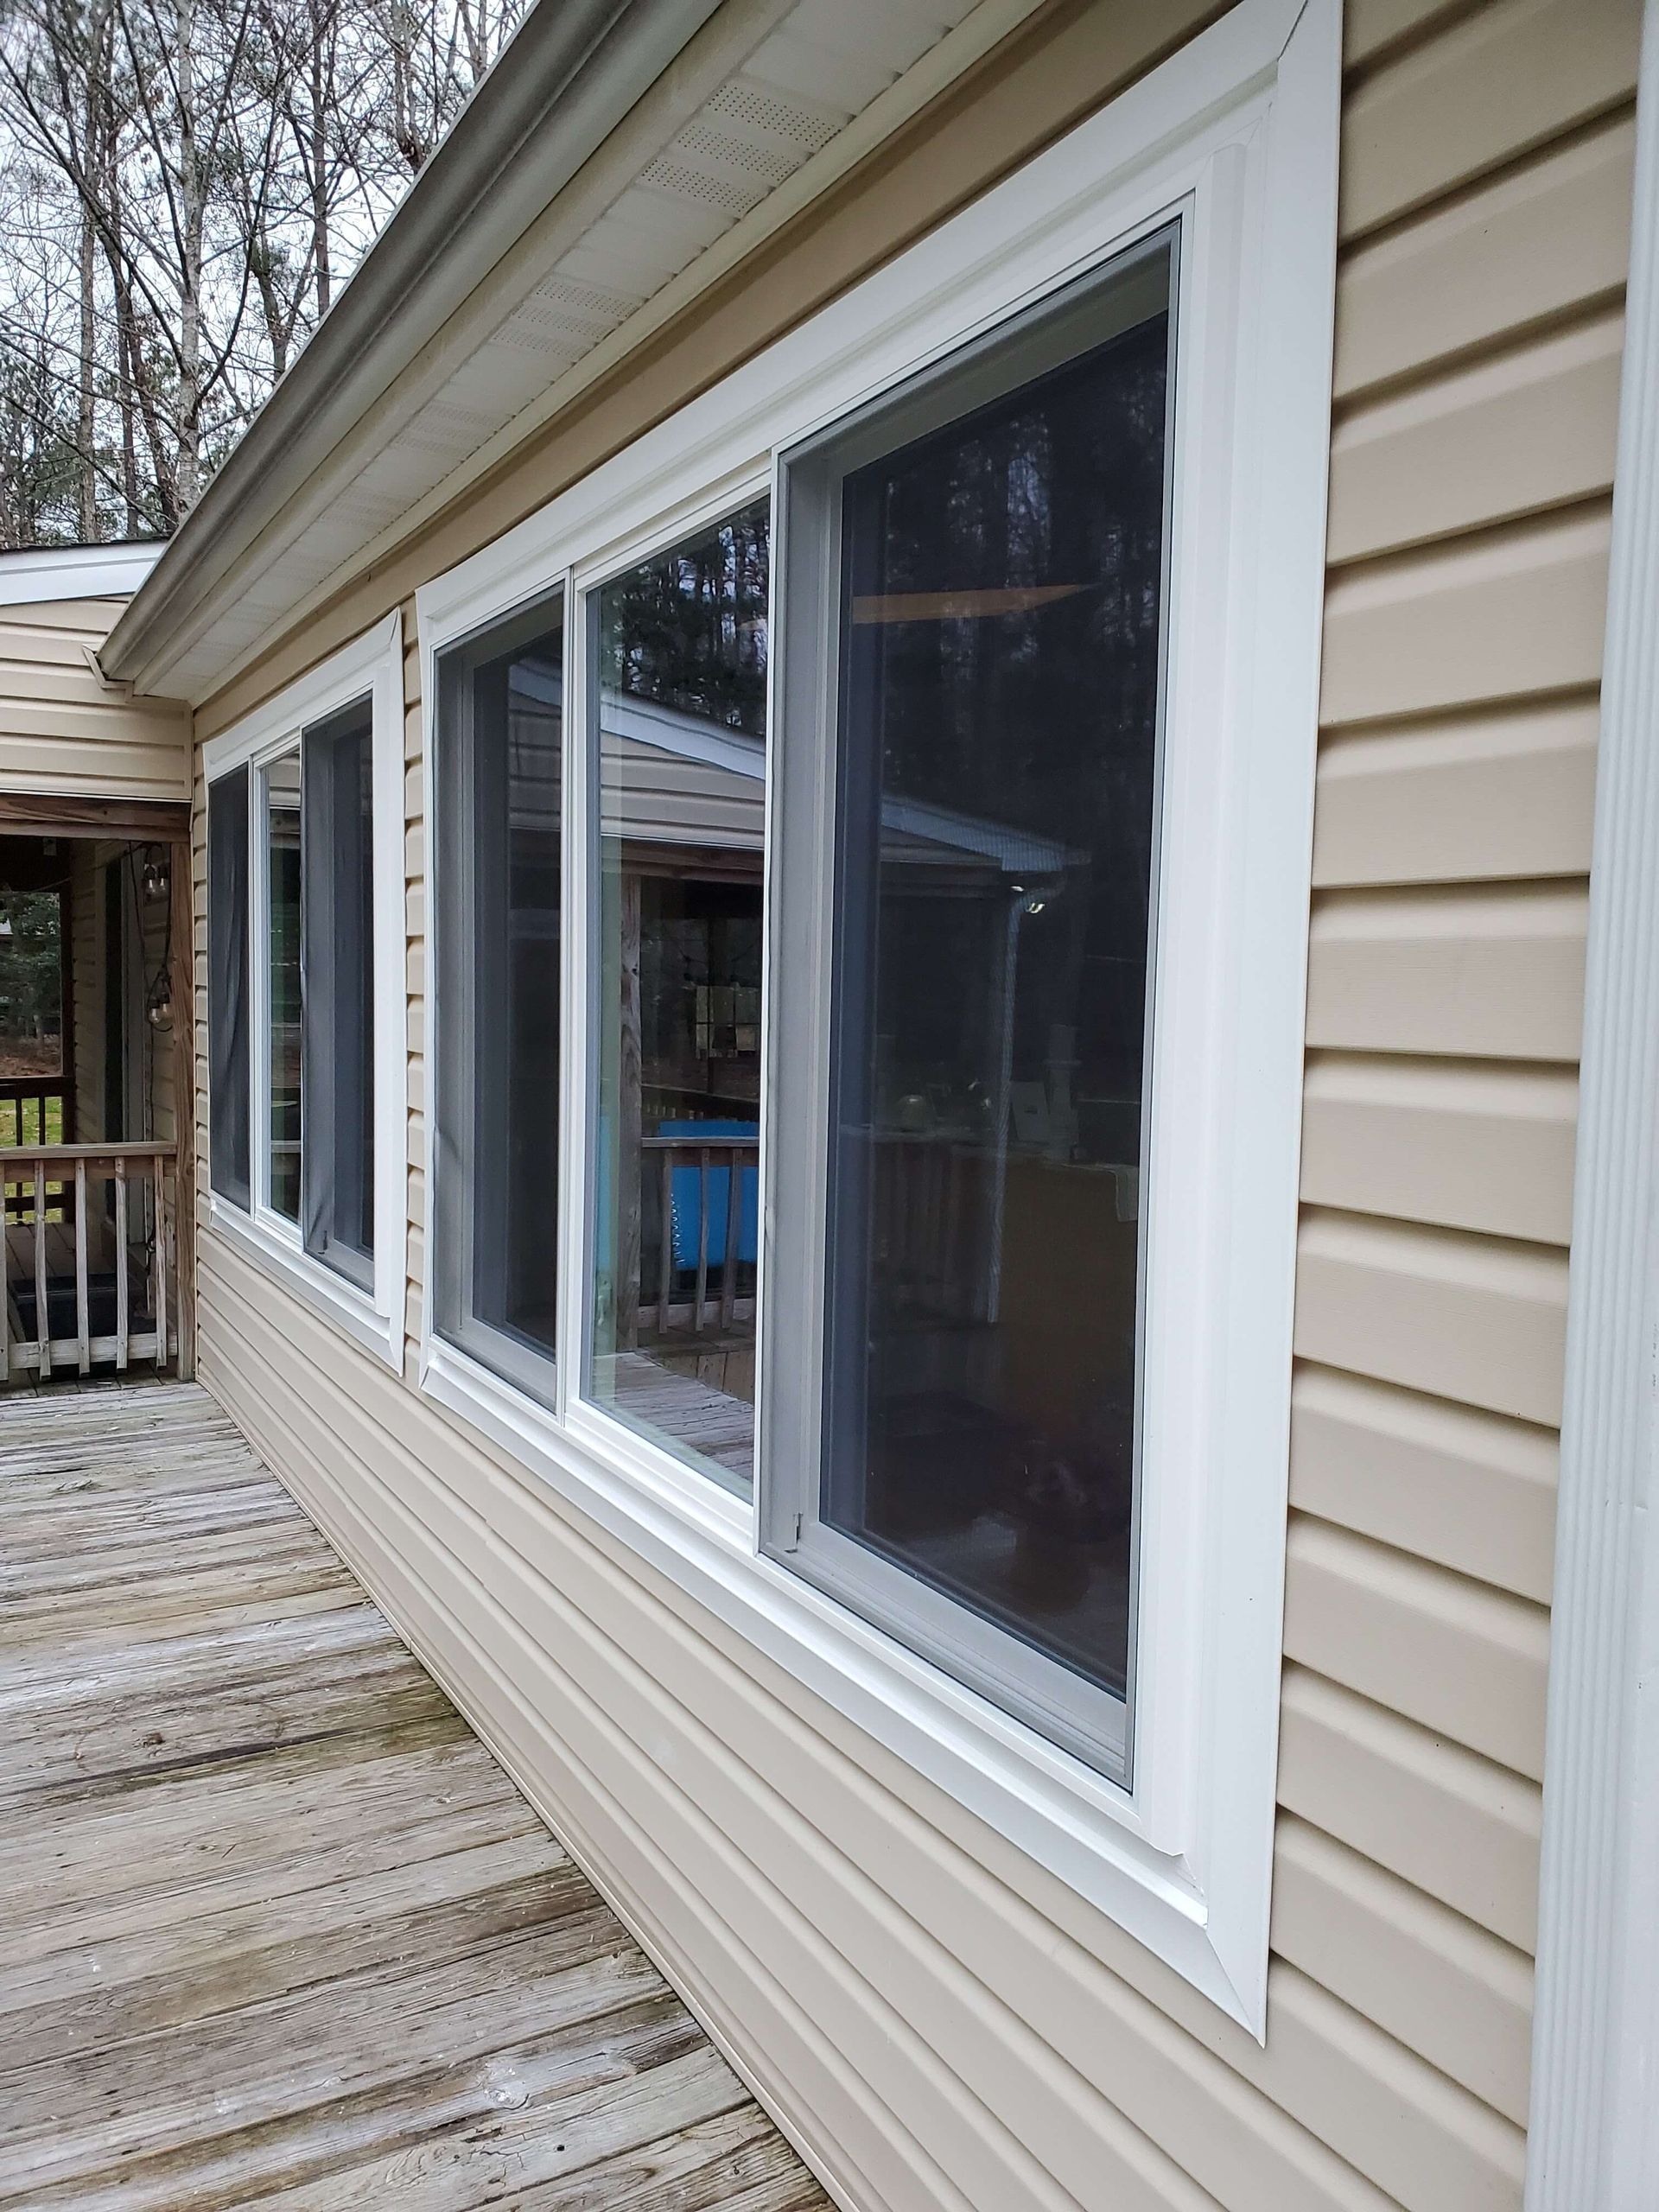
- Single and Double-Hung Windows: These are traditional and very popular. They can move up or down and are excellent for ventilation.
- Casement Windows: Attached to their frame by one or more hinges at the side, they swing out to open.
- Awning Windows: Similar to casement, but hinged at the top. They are great for rainy climates as they prevent water from entering the house.
- Slider Windows: As the name suggests, these slide horizontally and are ideal for tight spaces.
- Bay and Bow Windows: These jut out from your home, providing extra room inside and a larger view of the outside.
You can reference all the various window types we provide at Broman Contracting Services on our website.


Materials
- Vinyl: Inexpensive and low maintenance, vinyl windows are a popular choice because of their durability and insulation properties.
- Wood: Aesthetically pleasing but requires more upkeep, wood windows offer a high-end look and effective insulation.
- Aluminum: More strength but less insulating, these work well in rainy, humid climates.
- Fiberglass: A bit expensive, but strong and insulated better than vinyl or wood.
Remember, each type and material offers different benefits, so consider your climate, your home’s style, and your budget.
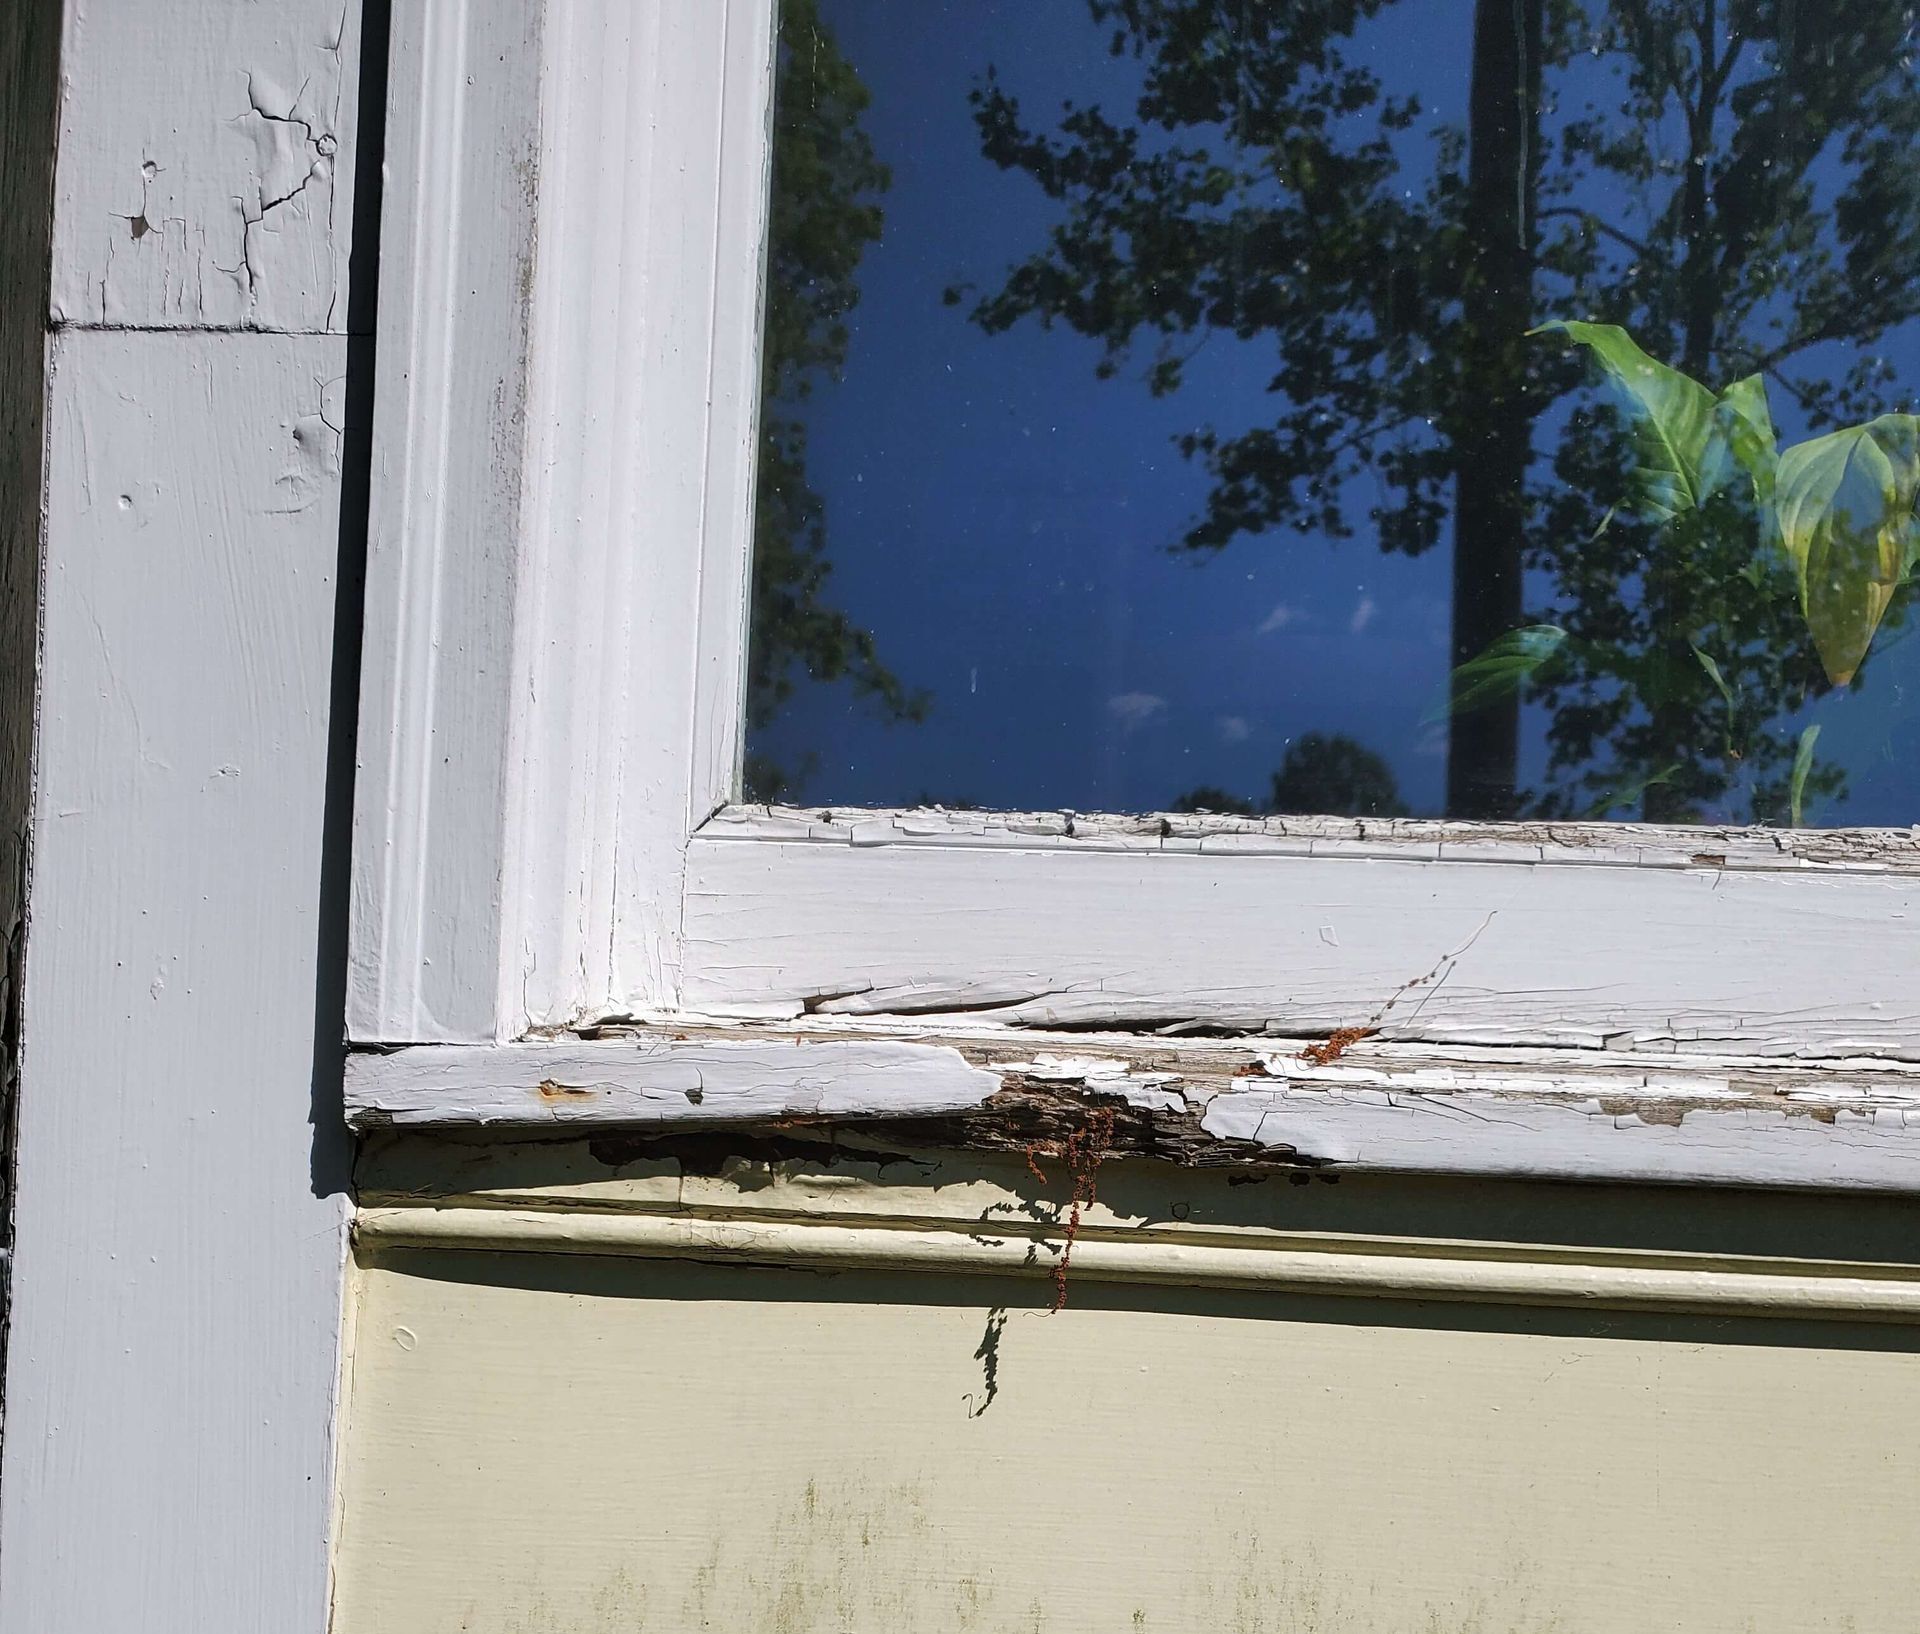
Preparing for Installation
Getting ready for window installation isn't just about choosing the right window; you also need to prepare your home for the job:
- Measure your windows accurately to ensure that the new ones fit perfectly.
- Check local building codes to ensure compliance, especially if you're significantly altering window sizes or styles.
- Clear the area around windows inside and out to provide easy access and decrease the risk of damage.
- Protect your belongings by moving furniture away from the area and covering items to guard against dust.
Taking these steps helps your installation go smoothly, minimizing stress and mess.
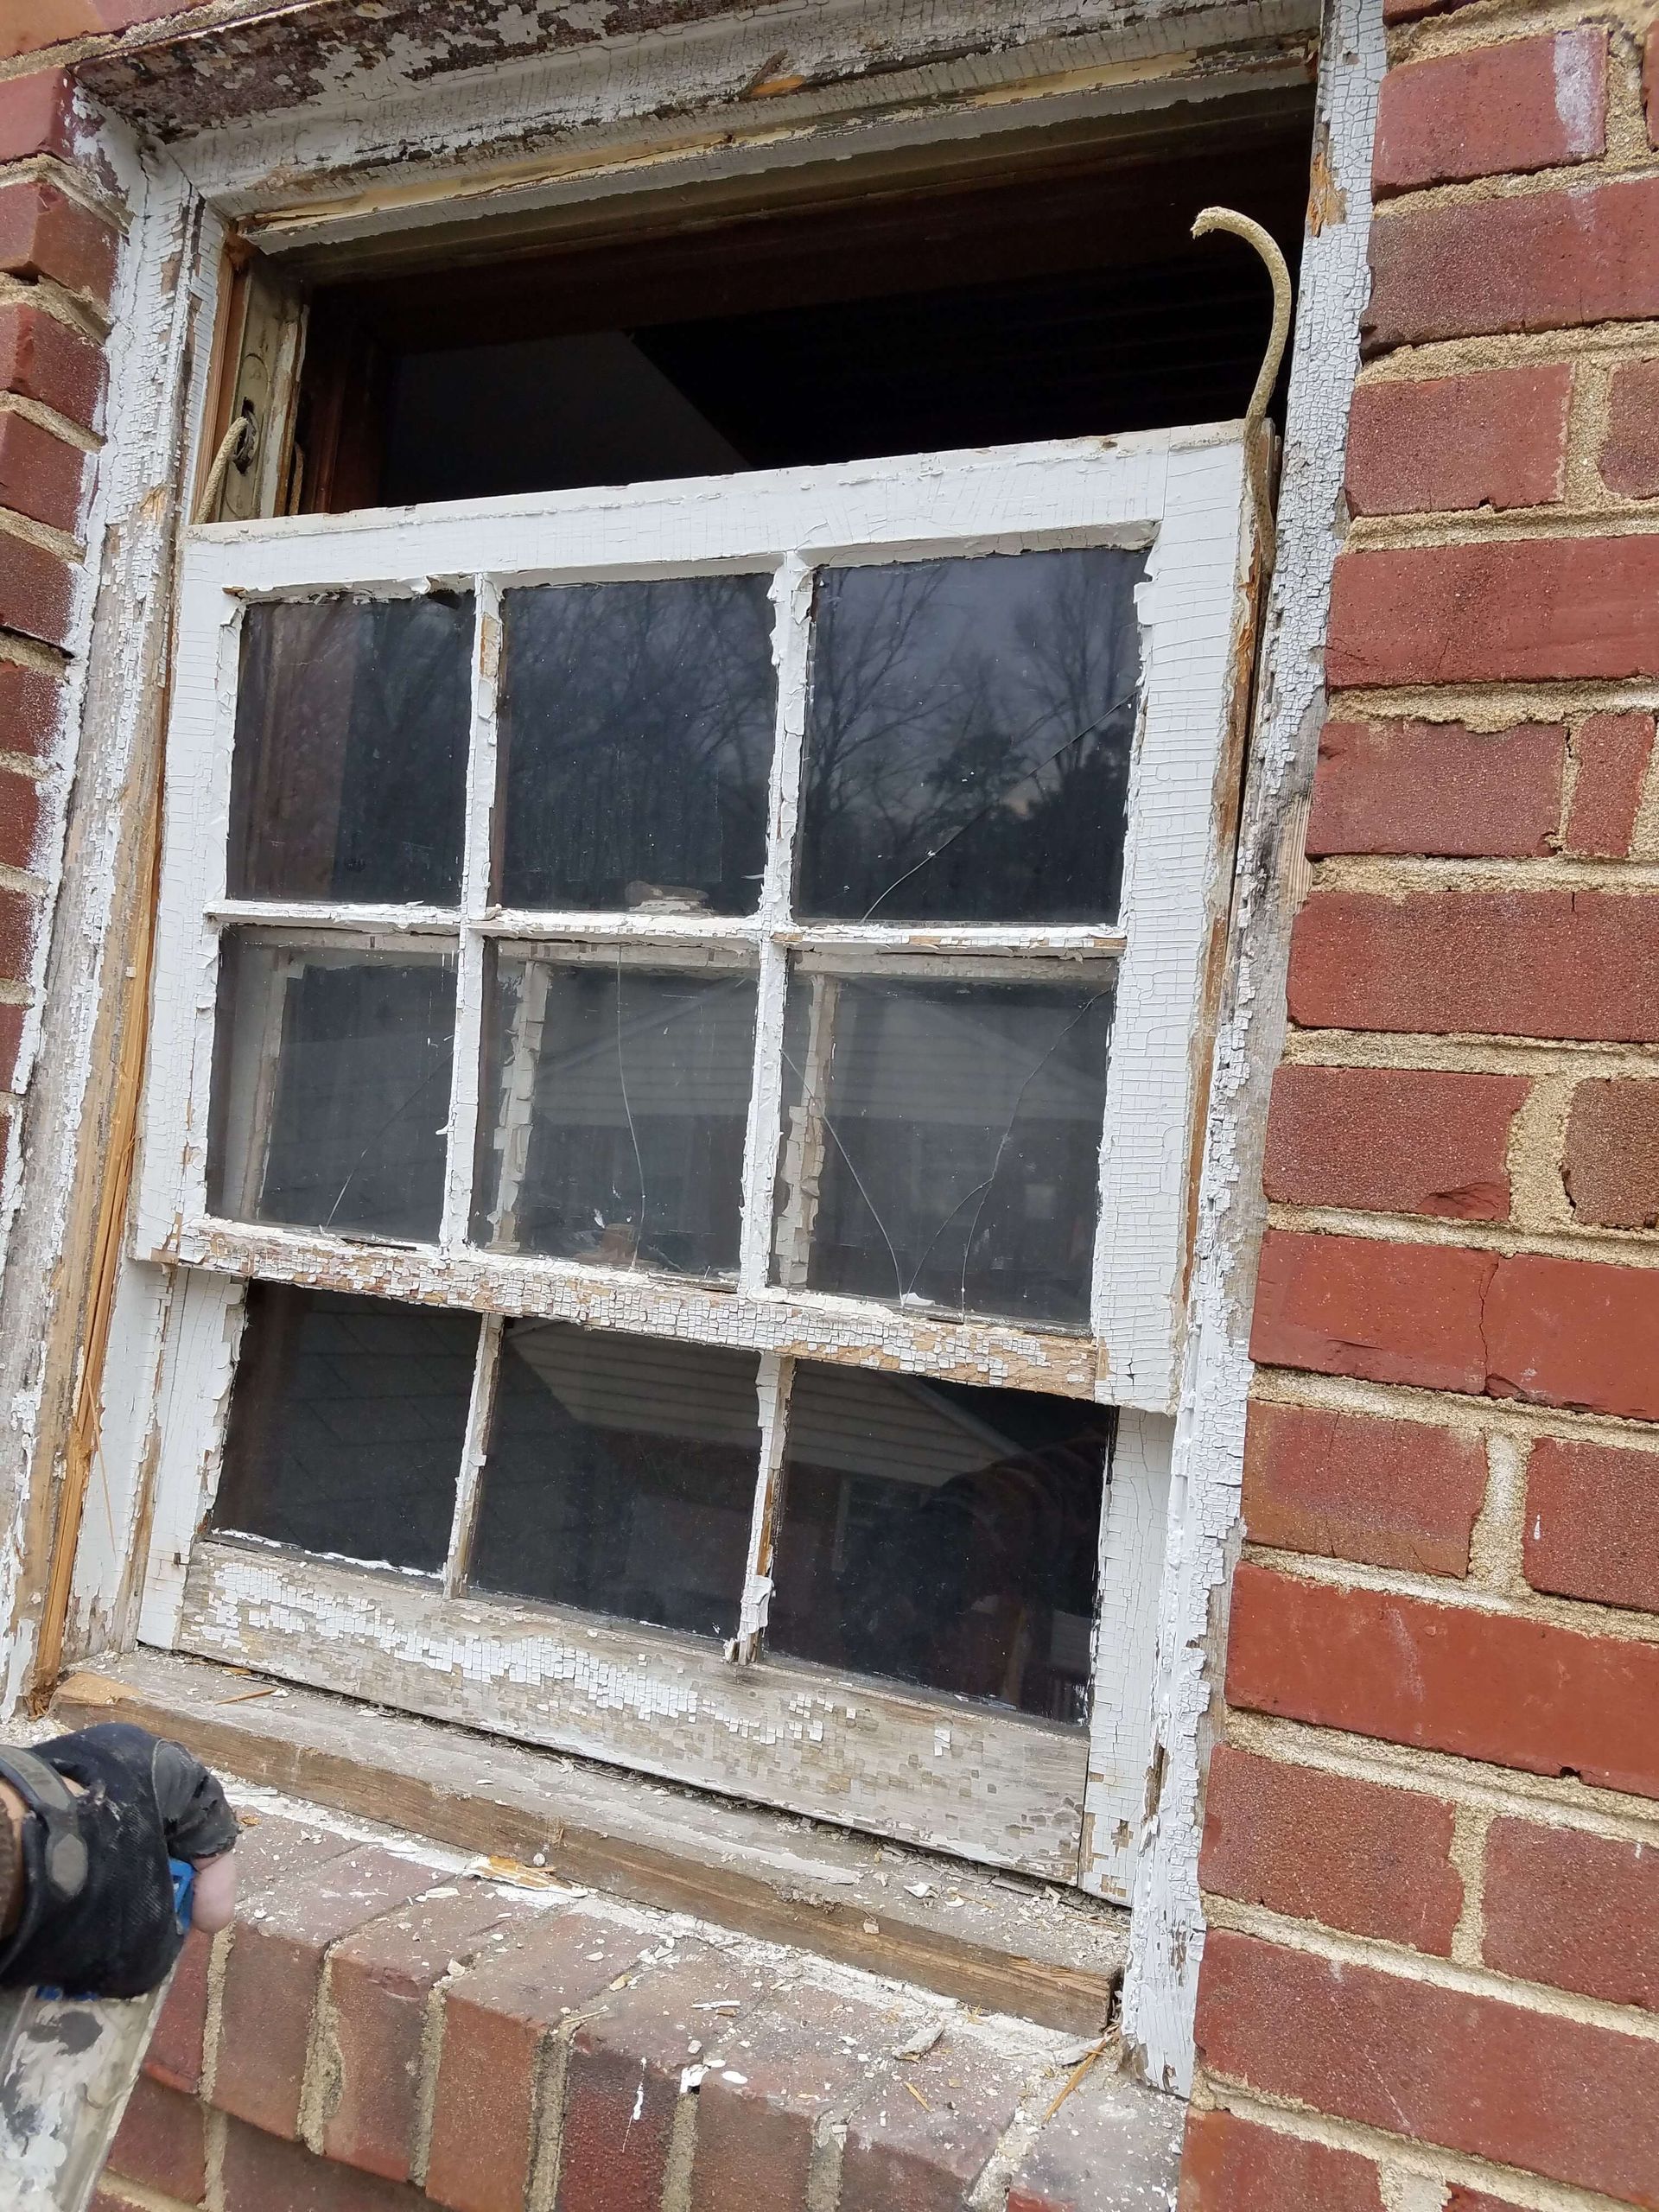
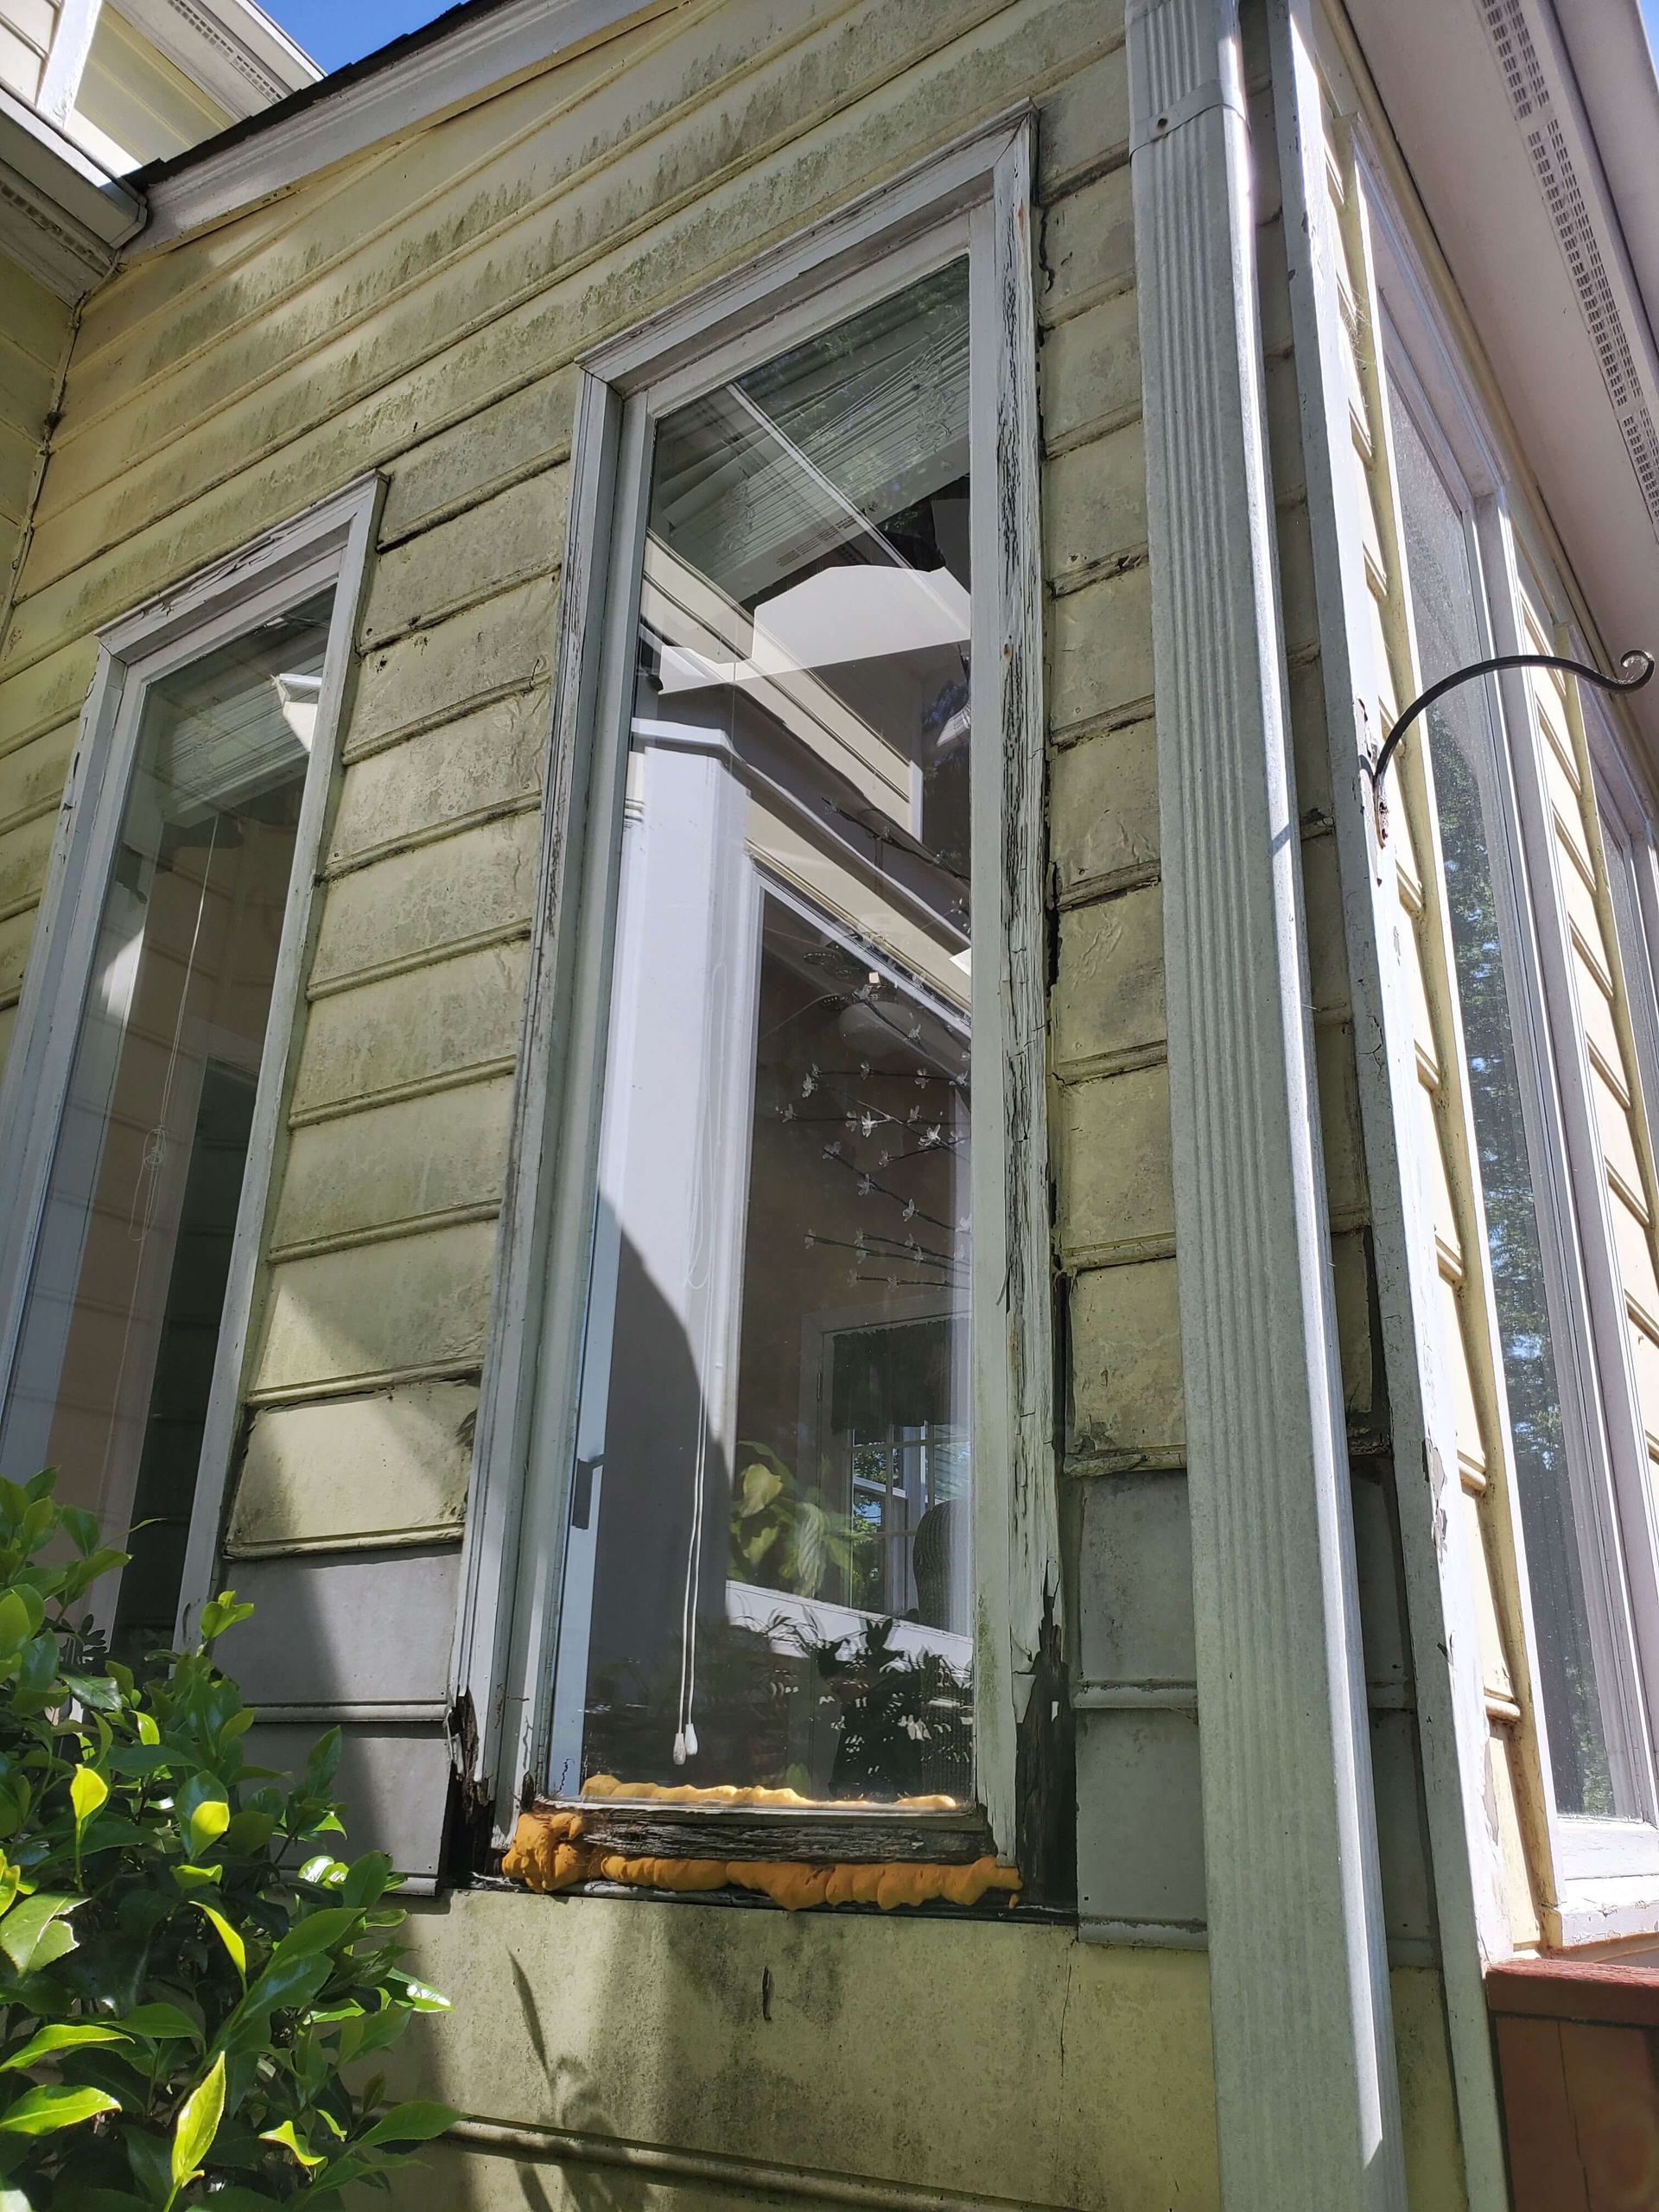
Removing Old Windows
Removing old windows can be tricky, and it's a part where a lot of DIYers feel a bit nervous. Here’s a simplified process:
- Safely remove the glass panes to avoid breakage and injuries.
- Take out any stops and trim cautiously, especially if planning to reuse them.
- Extract the old window frame from the opening. This might require some force, so be gentle to avoid damaging the wall.
Always wear gloves and safety glasses during this part—safety first!

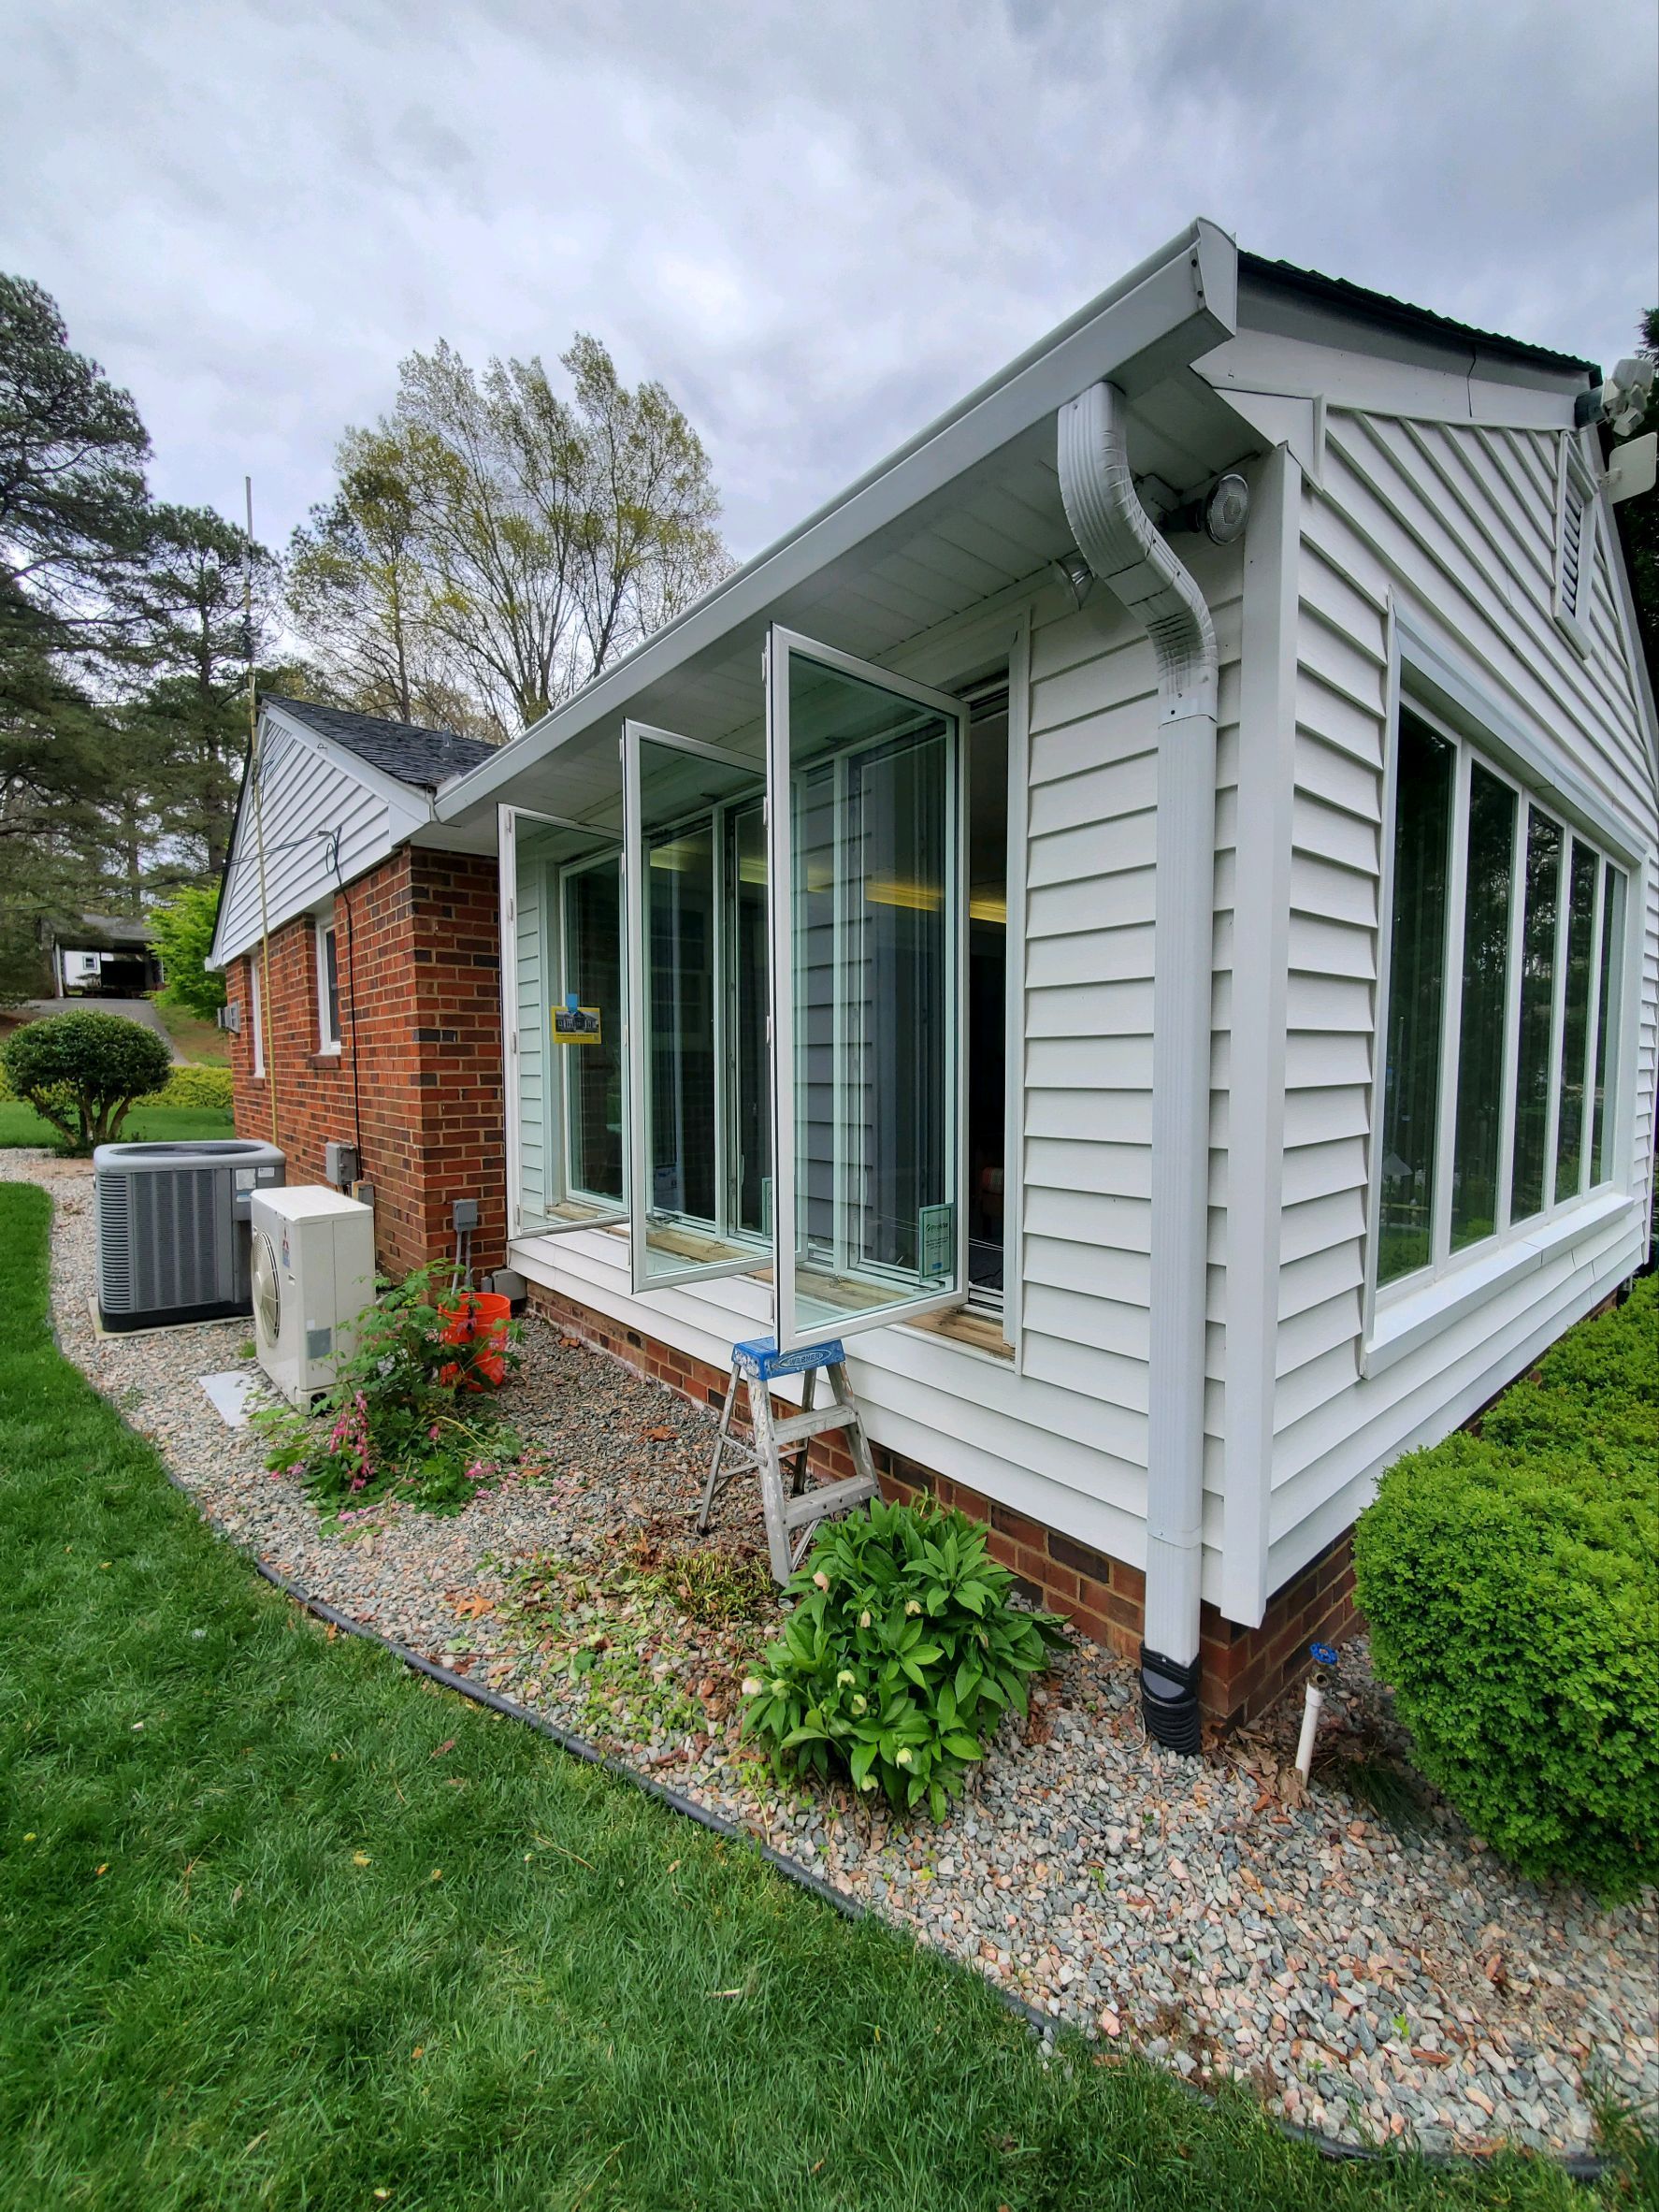
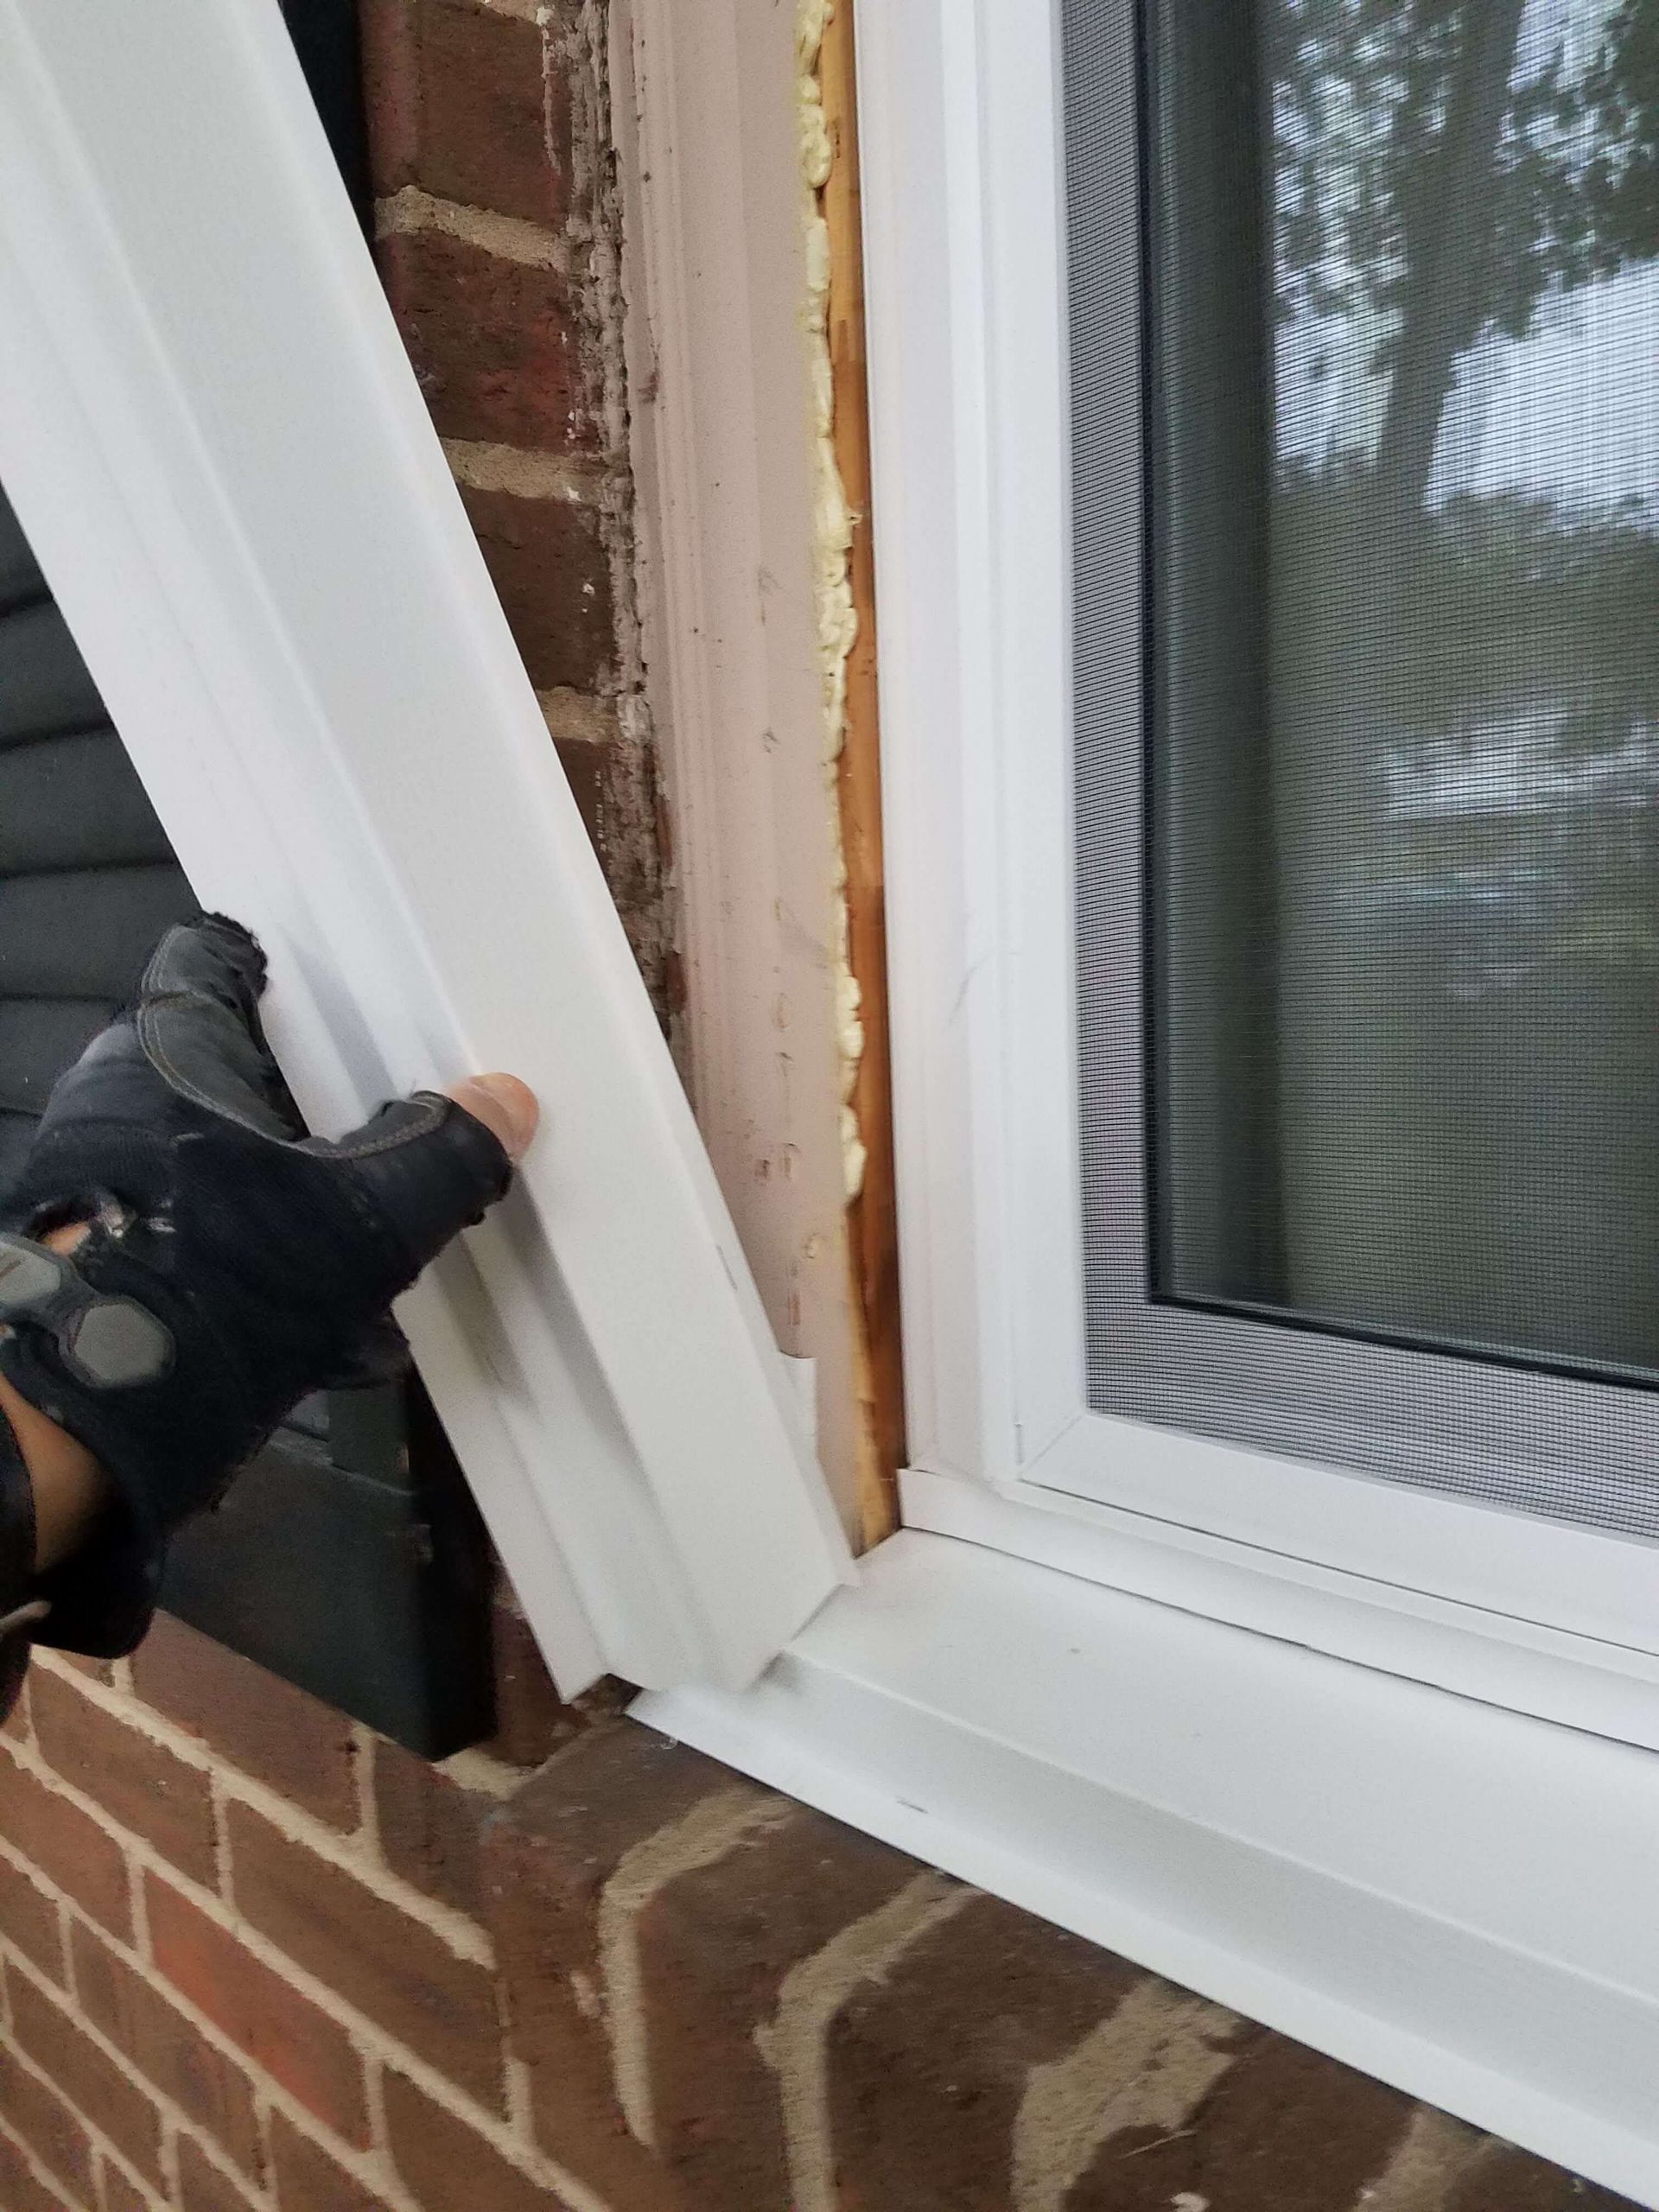
Installing New Windows
Now, the exciting part—installing your brand-new windows:
- Dry-fit the new window to make sure it fits the opening.
- Apply a sealant around the edges of the opening to prevent water and air leaks.
- Place the new window in the opening. Make sure it's level and secure it with screws.
- Check the window operates correctly. Open and close it to ensure nothing's blocking its path.
Doing a thorough check at this stage saves headaches later on!
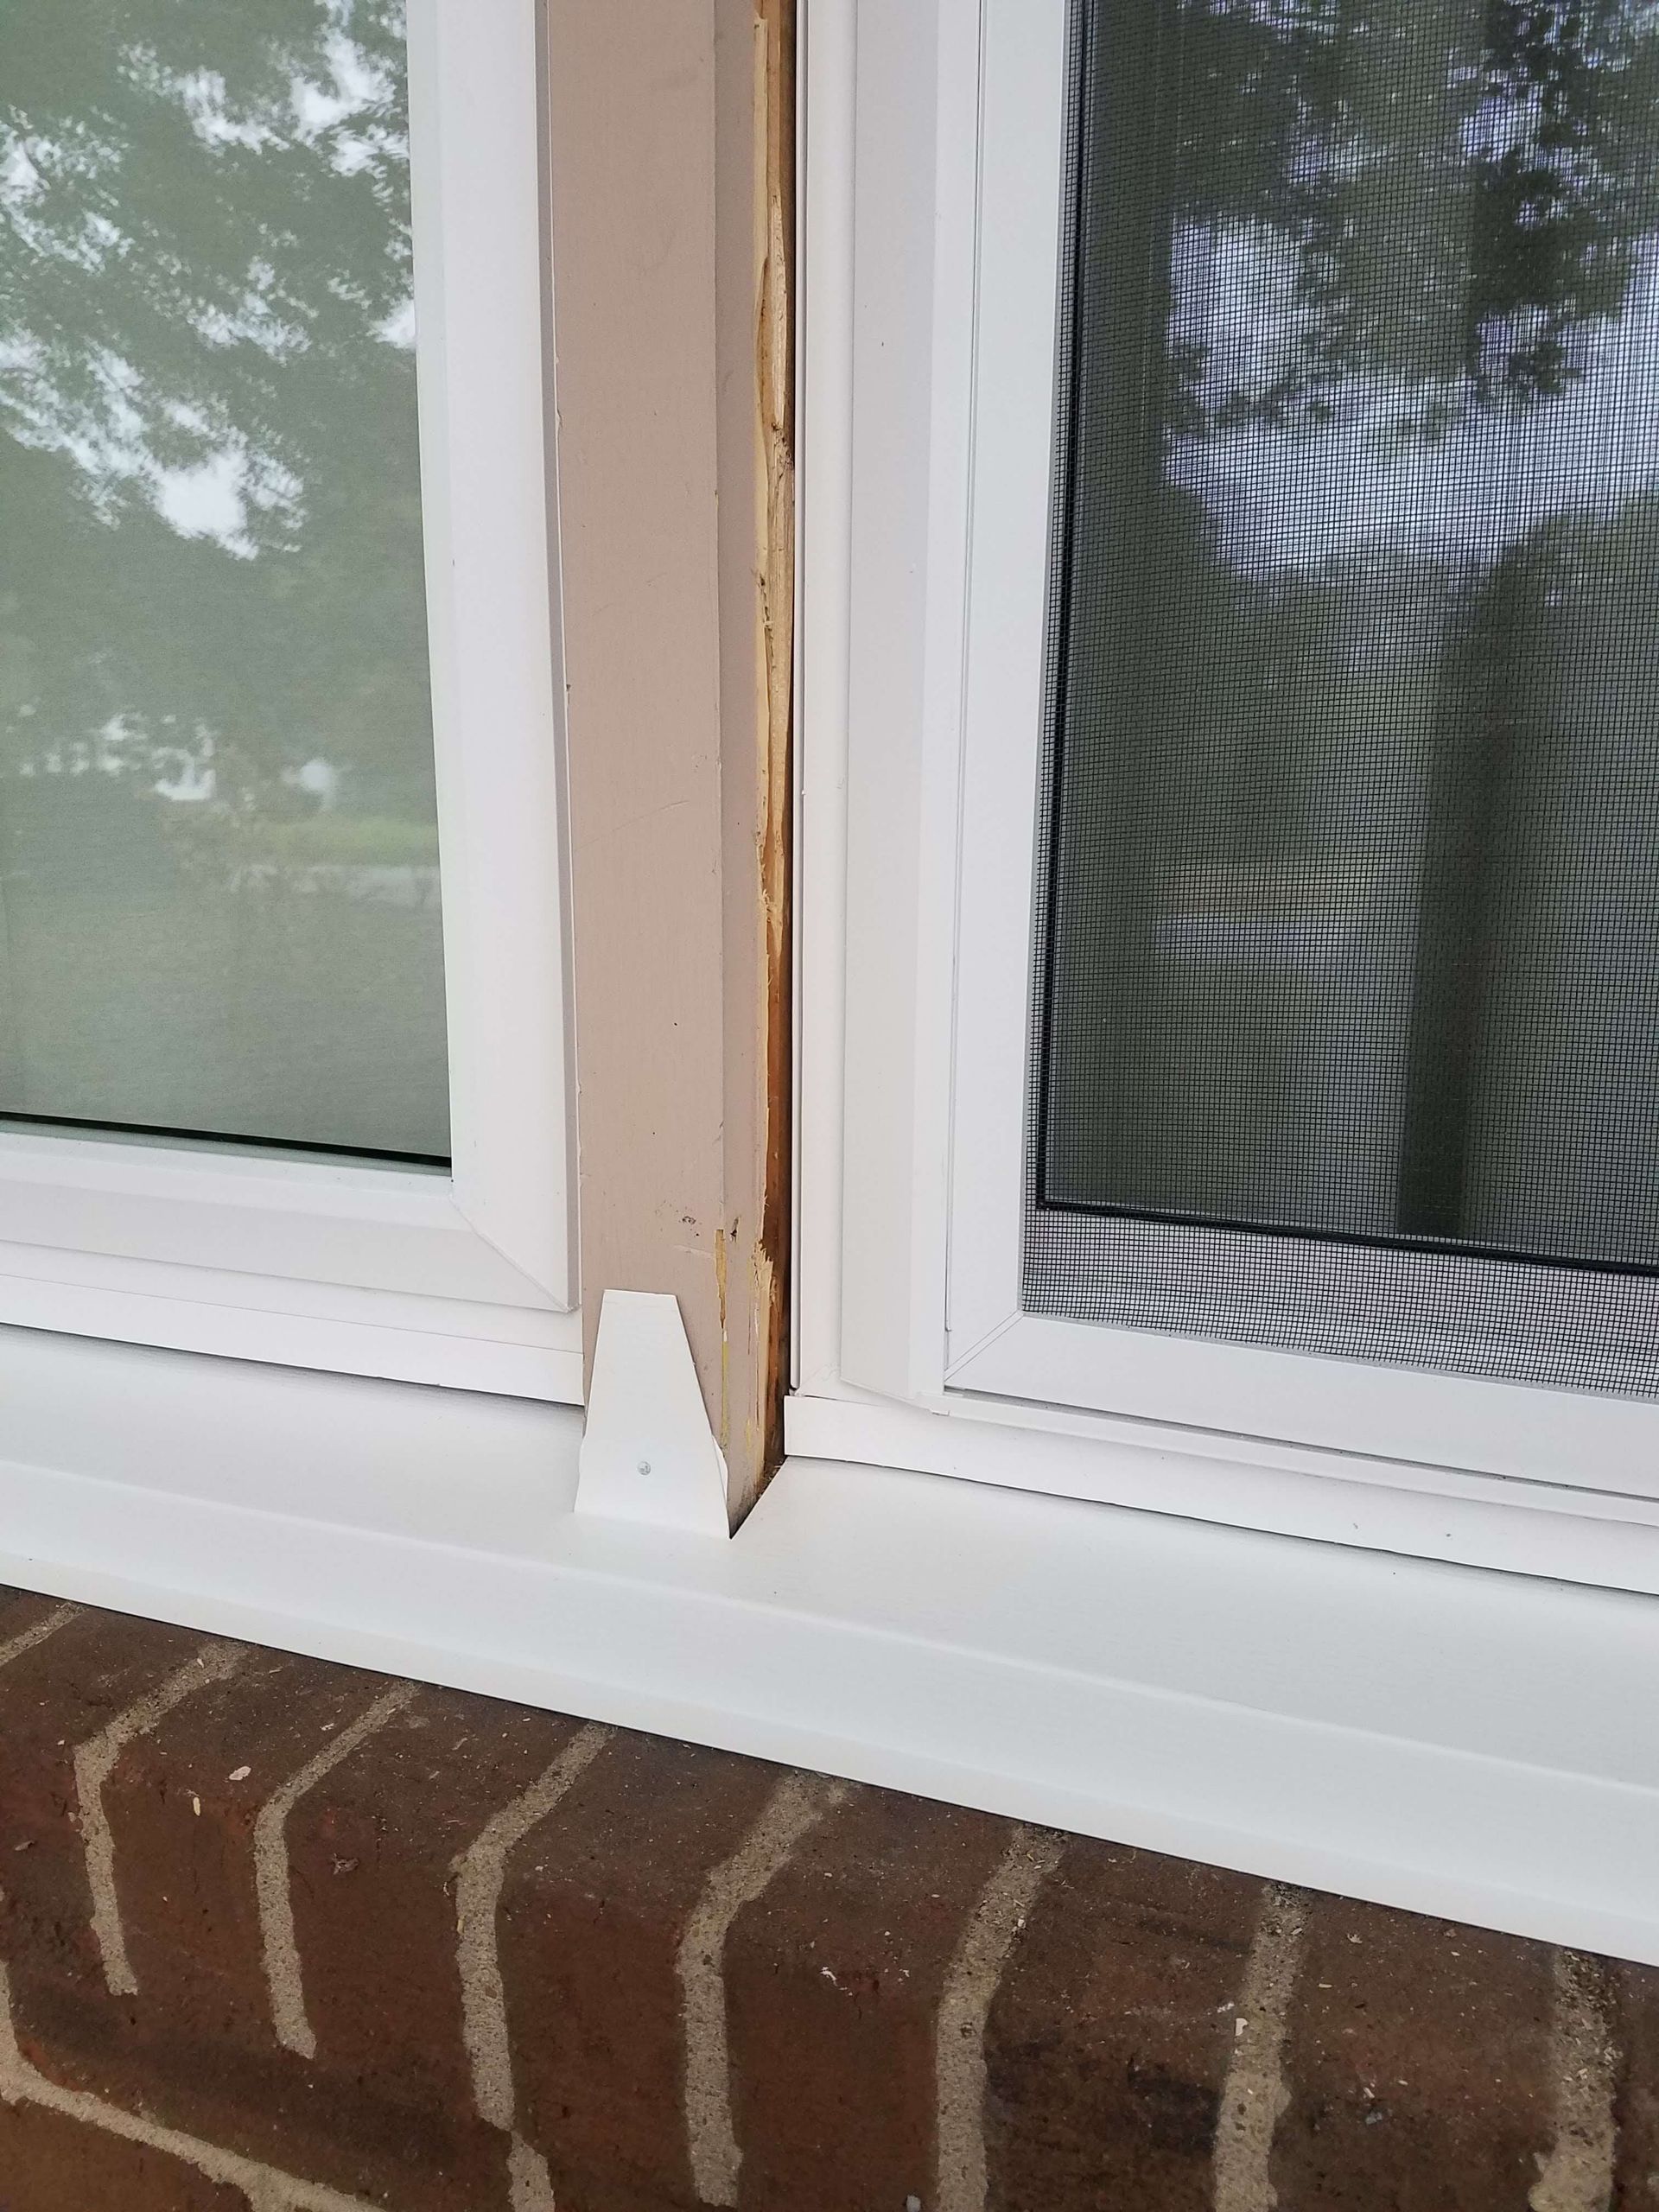
Sealing and Insulating
A well-sealed and insulated window not only saves on energy bills but also improves comfort by eliminating drafts. Here’s how to ensure good insulation:
- Expandable foam: Apply around the gaps between the frame and the wall for a tight seal.
- Weather stripping: Place around movable parts of the window to keep the elements out.
This step is crucial for enhancing the overall efficacy of your new windows.
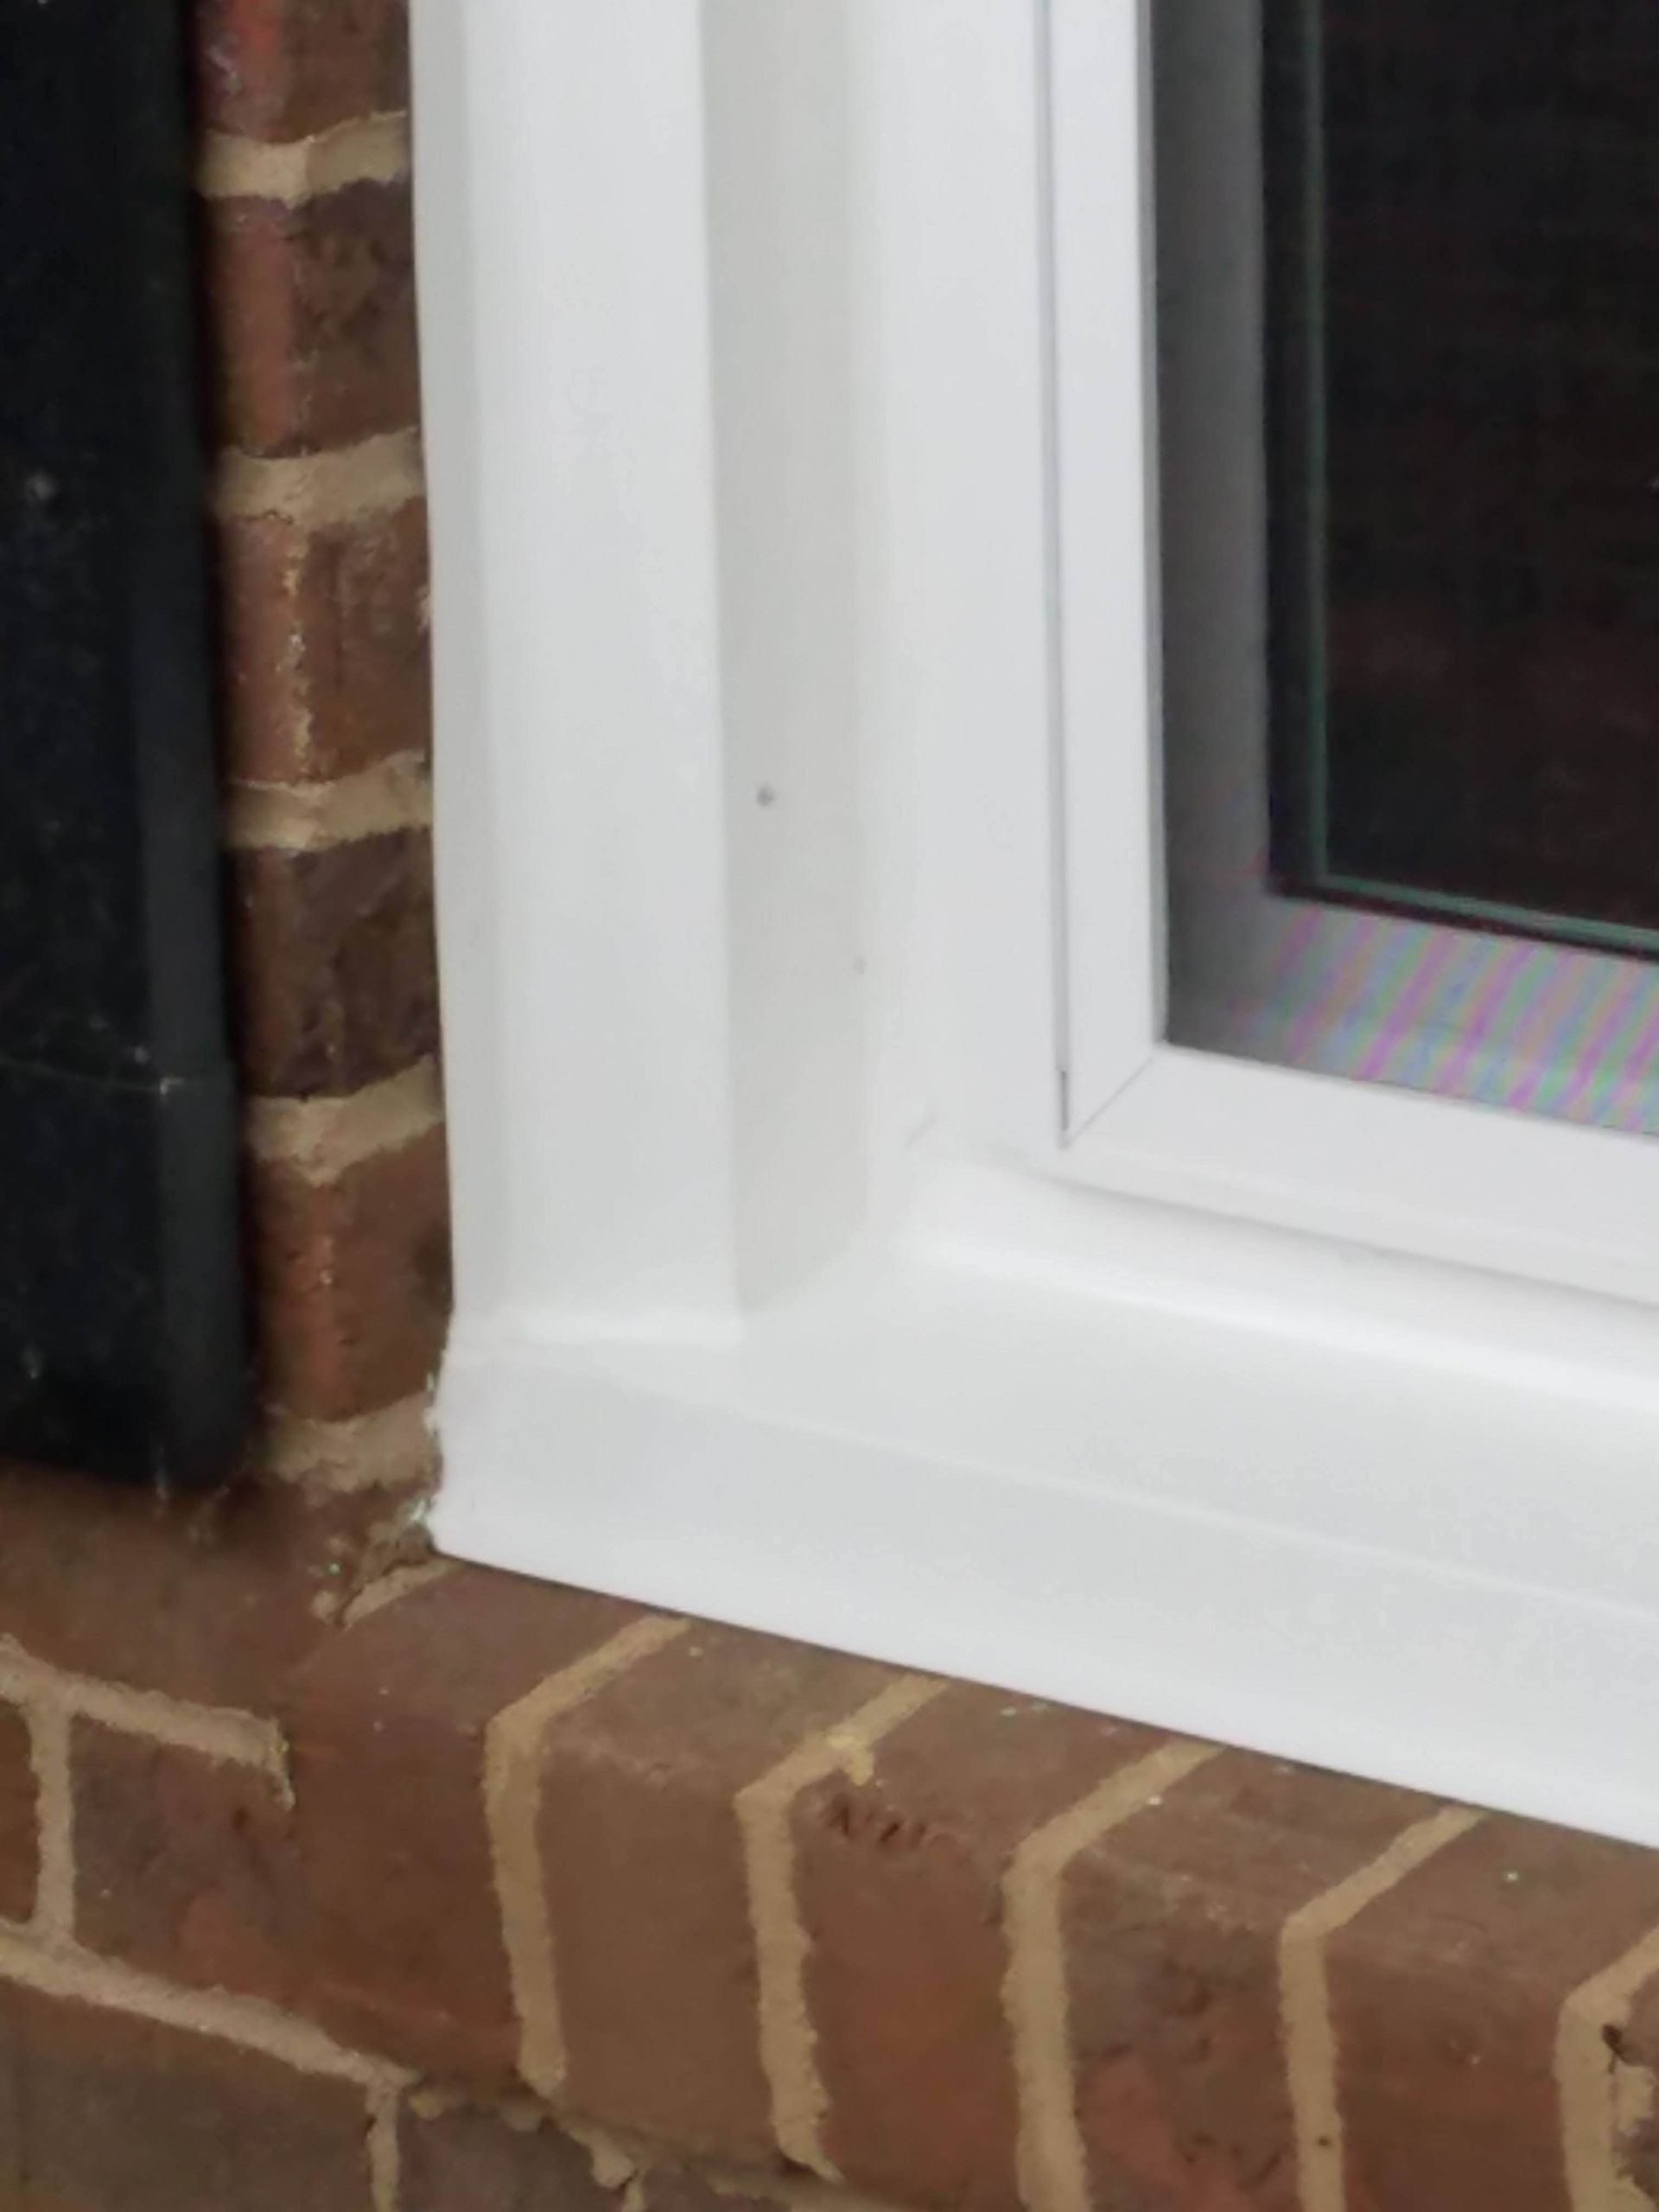
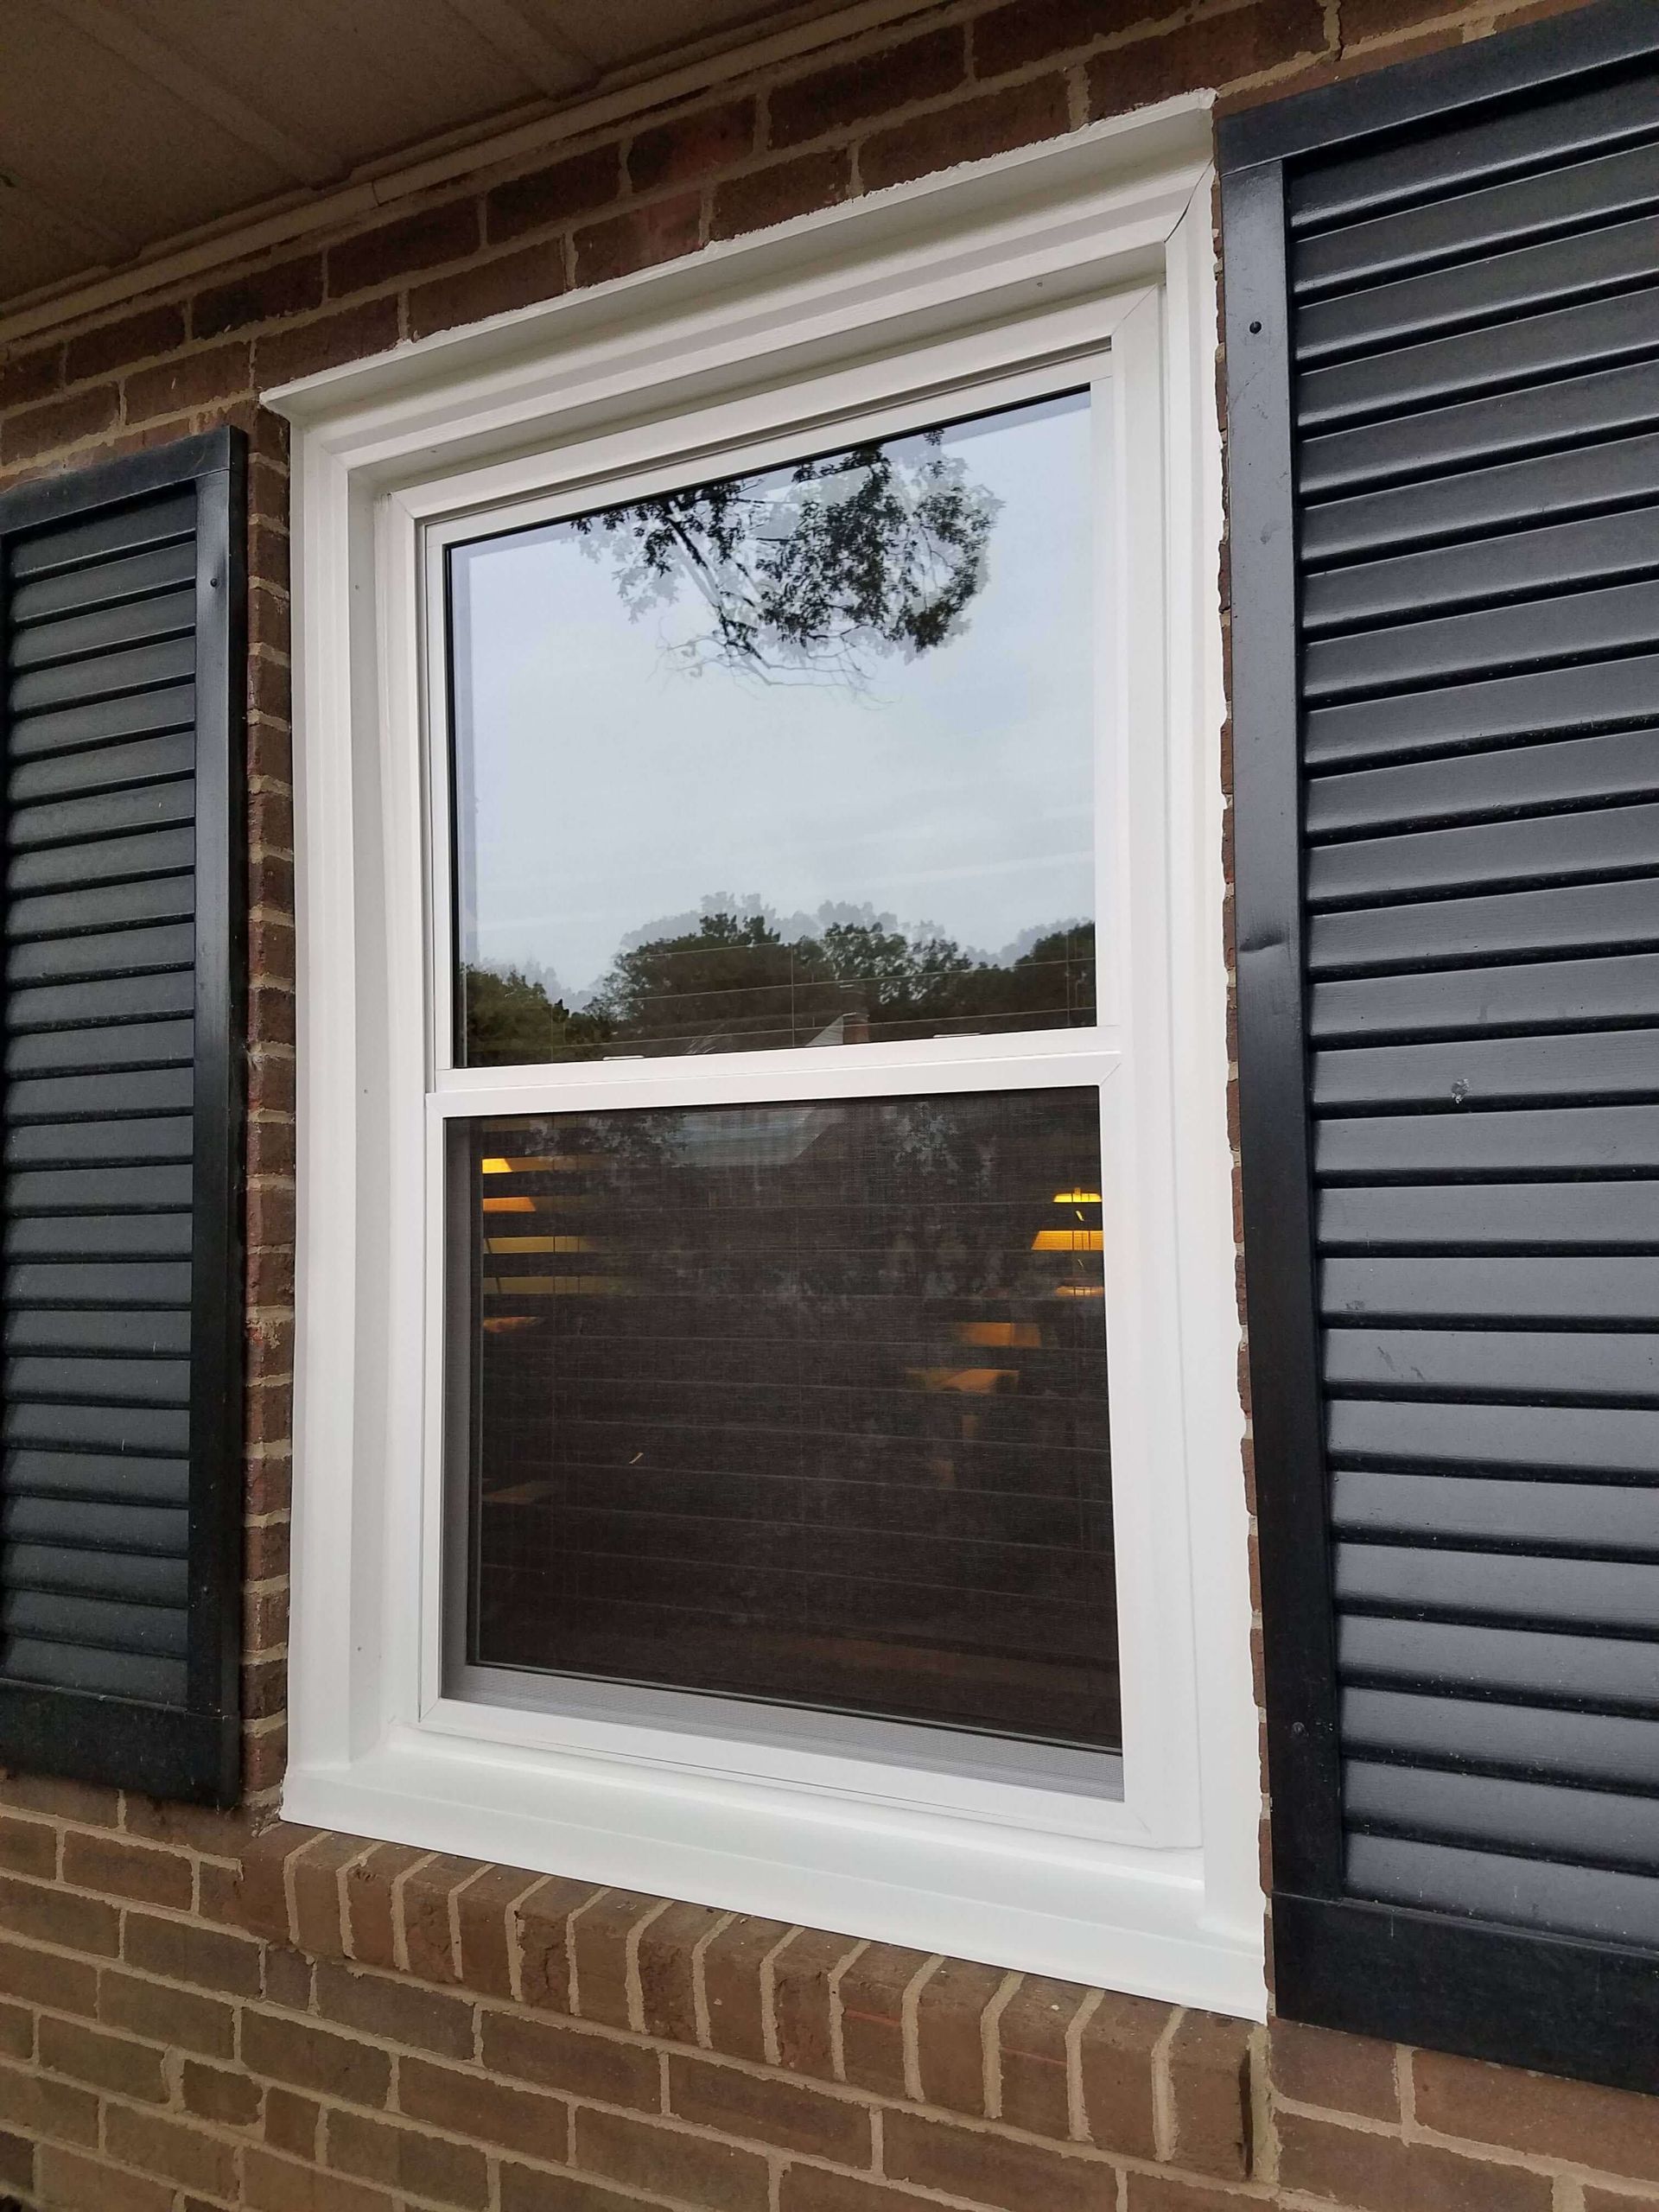
Finishing Touches and Cleanup
Once your new window is securely installed and well-sealed, it’s time to do the finishing touches:
- Apply interior trim to cover any gaps and give your windows a finished look.
- Touch up paint around the window, matching it to your existing walls or trim.
- Clean the windows and the surrounding area to remove installation debris.
And voila, your new windows are installed, looking great, and ready to serve you for many years to come!
Remember: Windows not only enhance the look of your home but also its energy efficiency and comfort. Taking the time to install them properly is well worth the effort!
In conclusion, replacing windows is one of those updates to your home that can really make a difference in both aesthetics and function. Whether you’re doing it yourself or hiring a professional, knowing what’s involved from start to finish helps ensure a job well done. Enjoy your new view! Visit Broman Contracting Services if you're seeking professional help for window installation.
Share this blog post